27 Cute Easy Hairstyles for Curly Hair to Try
Some mornings your curls are ready to go. Other mornings, half your head is defined and the front has flattened against the pillow. An easy curly hairstyle isn’t always about restyling everything. Sometimes it means leaving the curls loose and securing the front, refreshing a few sections with water, or gathering everything into a shape that holds. The 27 ideas below cover that range. Some take a couple of minutes on curls that are already defined, some help you get through the days between washes, and a few need wet hair or time to set before they look their best. You’ll find loose styles, half-up looks, updos, ponytails, and accessories, plus a few techniques for defining curls. Each comes with notes on length, curl pattern, and how much effort it really takes.
Pineapple Updo

The curls are gathered loosely at the very top of the head, close to the front hairline, and held with a soft scrunchie or loose elastic so the lengths fall forward over it. Keeping the band loose matters, because the aim is to collect the hair without crushing the curls underneath. During the day, it reads as a high, relaxed updo. Many people also use it overnight, so the back and sides aren’t pressed into the pillow while they sleep, which can help curls keep more of their shape by morning. It works best on hair long enough to reach the top of the head, and some flattening near the band is normal.
Half-Up Curly Puff

Only the top section is gathered, roughly from the temples up toward the crown, while the rest of the curls stay down. Those gathered curls are secured loosely so they open into a small puff above the loose hair. The amount of hair you take changes the shape. A narrow section near the hairline makes a small puff and keeps most of the volume down, while a wider section creates a larger puff and pulls more hair off the face. Smooth the front with your fingers instead of a brush, and stop before the hairline feels tight. It’s a quick option when the curls underneath are still defined.
Loose Curly Bun

Gather the curls at whatever height you like, usually the crown or slightly lower, then twist them loosely and wrap them around the base. Secure the shape with a few pins or a loose elastic, and let some ends escape instead of tucking every curl in. You end up with a rounded bun that keeps its texture. A higher bun lifts the shape and keeps hair off the neck, while a lower one sits more quietly. Shorter curls may only make a small bun, and very dense hair may need a stronger elastic or extra pins to stay in place.
Wash-and-Go Defined Curls

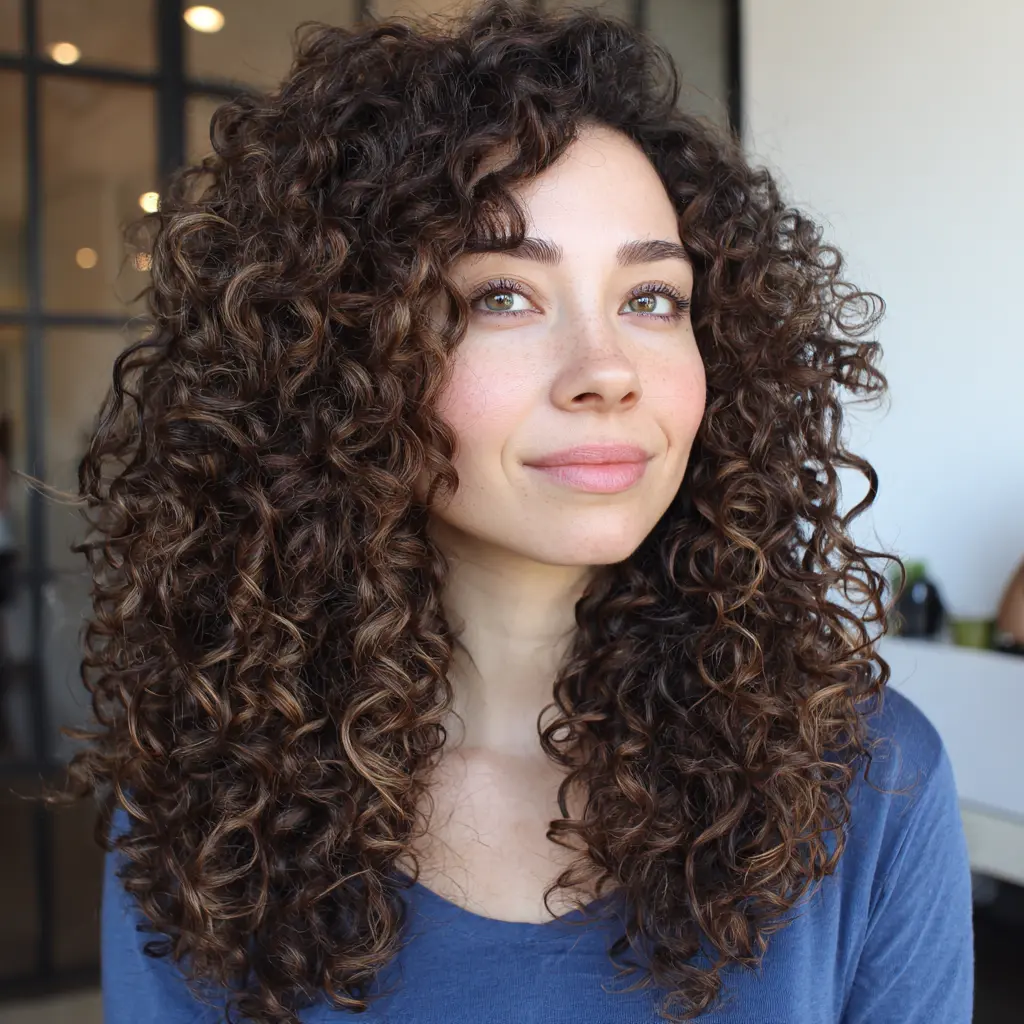
A wash-and-go is a styling method more than a quick fix. Styling product goes onto wet hair, the curls are encouraged to clump together, and the hair dries without being disturbed. That process is what separates it from simply letting hair air-dry. A typical approach is to work a curl cream, gel, or both through soaking-wet hair in sections, scrunch upward to encourage the pattern, then air-dry or diffuse. The right product, amount, and technique depend on your hair. Fine strands can be weighed down by heavy products, while dense hair may need more to cover every section. Expect some trial and error before you settle on a routine.
Low Curly Pony

Gathered at the nape, a low ponytail keeps curls off the face and neck while the lengths hang free. Sweep the hair back with your fingers or a wide-tooth comb and secure it with a scrunchie or soft coated elastic. The band should be snug, not tight, because a tight band flattens curls around the gathered section and can leave a crease when the hair comes down. The curls inside the elastic will always change shape a little, so if you plan to wear them loose later, keep the hold gentle. On short curls, a low pony may only catch a small tuft, and side pieces may slip out.
Curly Side Pony

All the hair is swept to one side and secured just behind or below one ear, so the curls fall over the front of the shoulder. Gather it loosely and use a scrunchie that won’t dig in. How much hair lands in front depends on length, density, and shrinkage. Long or dense curls create a substantial ponytail over the shoulder, while shorter or tightly coiled hair may gather into a smaller cluster near the ear. Because the hair on the opposite side is pulled across the back of the head, a pin or two can catch shorter pieces that work loose.
Two-Strand Twist-Out Styling

This style is simple to understand but slow to set. Divide damp or wet hair into sections and apply a styling product if you use one. Then split each section into two strands and twist them around each other down to the ends. The twists need to dry completely, which may take several hours or overnight depending on density and length. Taking them down too early is the most common reason a twist-out looks frizzy or limp. Once they’re dry, unravel each twist gently, separate it if you want more fullness, and avoid over-handling. How long the pattern lasts varies with your hair, products, weather, and how you sleep on it.
Curly Hair with Headband

A headband pushes hair back from the forehead while most of the curls stay loose. You can slide it on from the nape forward, or place it at the hairline and push it back until it sits comfortably. A wide fabric band holds more hair and tends to grip better on dense or tightly coiled curls. A narrow band reads as a decorative detail and may slip on smoother, looser curls. Fit varies with head size, hair volume, and how much hair sits under the band, so expect to adjust it once or twice. It’s handy when the curls look fine but the front keeps getting in the way.
Front Twist on Loose Curls

Take one small section at the front hairline, usually on the side of your part, twist it back toward the ear, and pin it just behind the end of the twist. Everything else stays loose. The twist keeps that section off your face and adds a small detail at the front. On loose curls and waves, the twist is easy to see, while on tighter coils it may blend into the surrounding texture. You need enough length for the twist to reach a secure pinning point. Short or very springy front pieces may need a second pin crossed over the first.
High Curly Puff

Like the pineapple, this gathers the hair high, but the goal is a rounded puff at the crown, not a loose bundle falling forward. Smooth the hair upward gently, secure it with a wide band or stretched scrunchie, and shape the puff with your fingers. Its size depends on curl pattern, shrinkage, density, and length. Tight coils with a lot of shrinkage form a compact, round shape, while looser curls make a softer, less rounded one. A bigger puff isn’t automatically better. Choose a band that holds without straining the hairline, and loosen it if you feel tension.
PRO TIP: If definition is the goal, leave curls alone while they dry. Touching, scrunching, or rearranging damp curls can break up the clumps that are forming, which often shows up as frizz or a less defined pattern once the hair is dry. If your gel dries into a firm, crunchy cast, wait until the hair is completely dry before gently scrunching it to soften the hold.
Curly Bob Half-Up Style

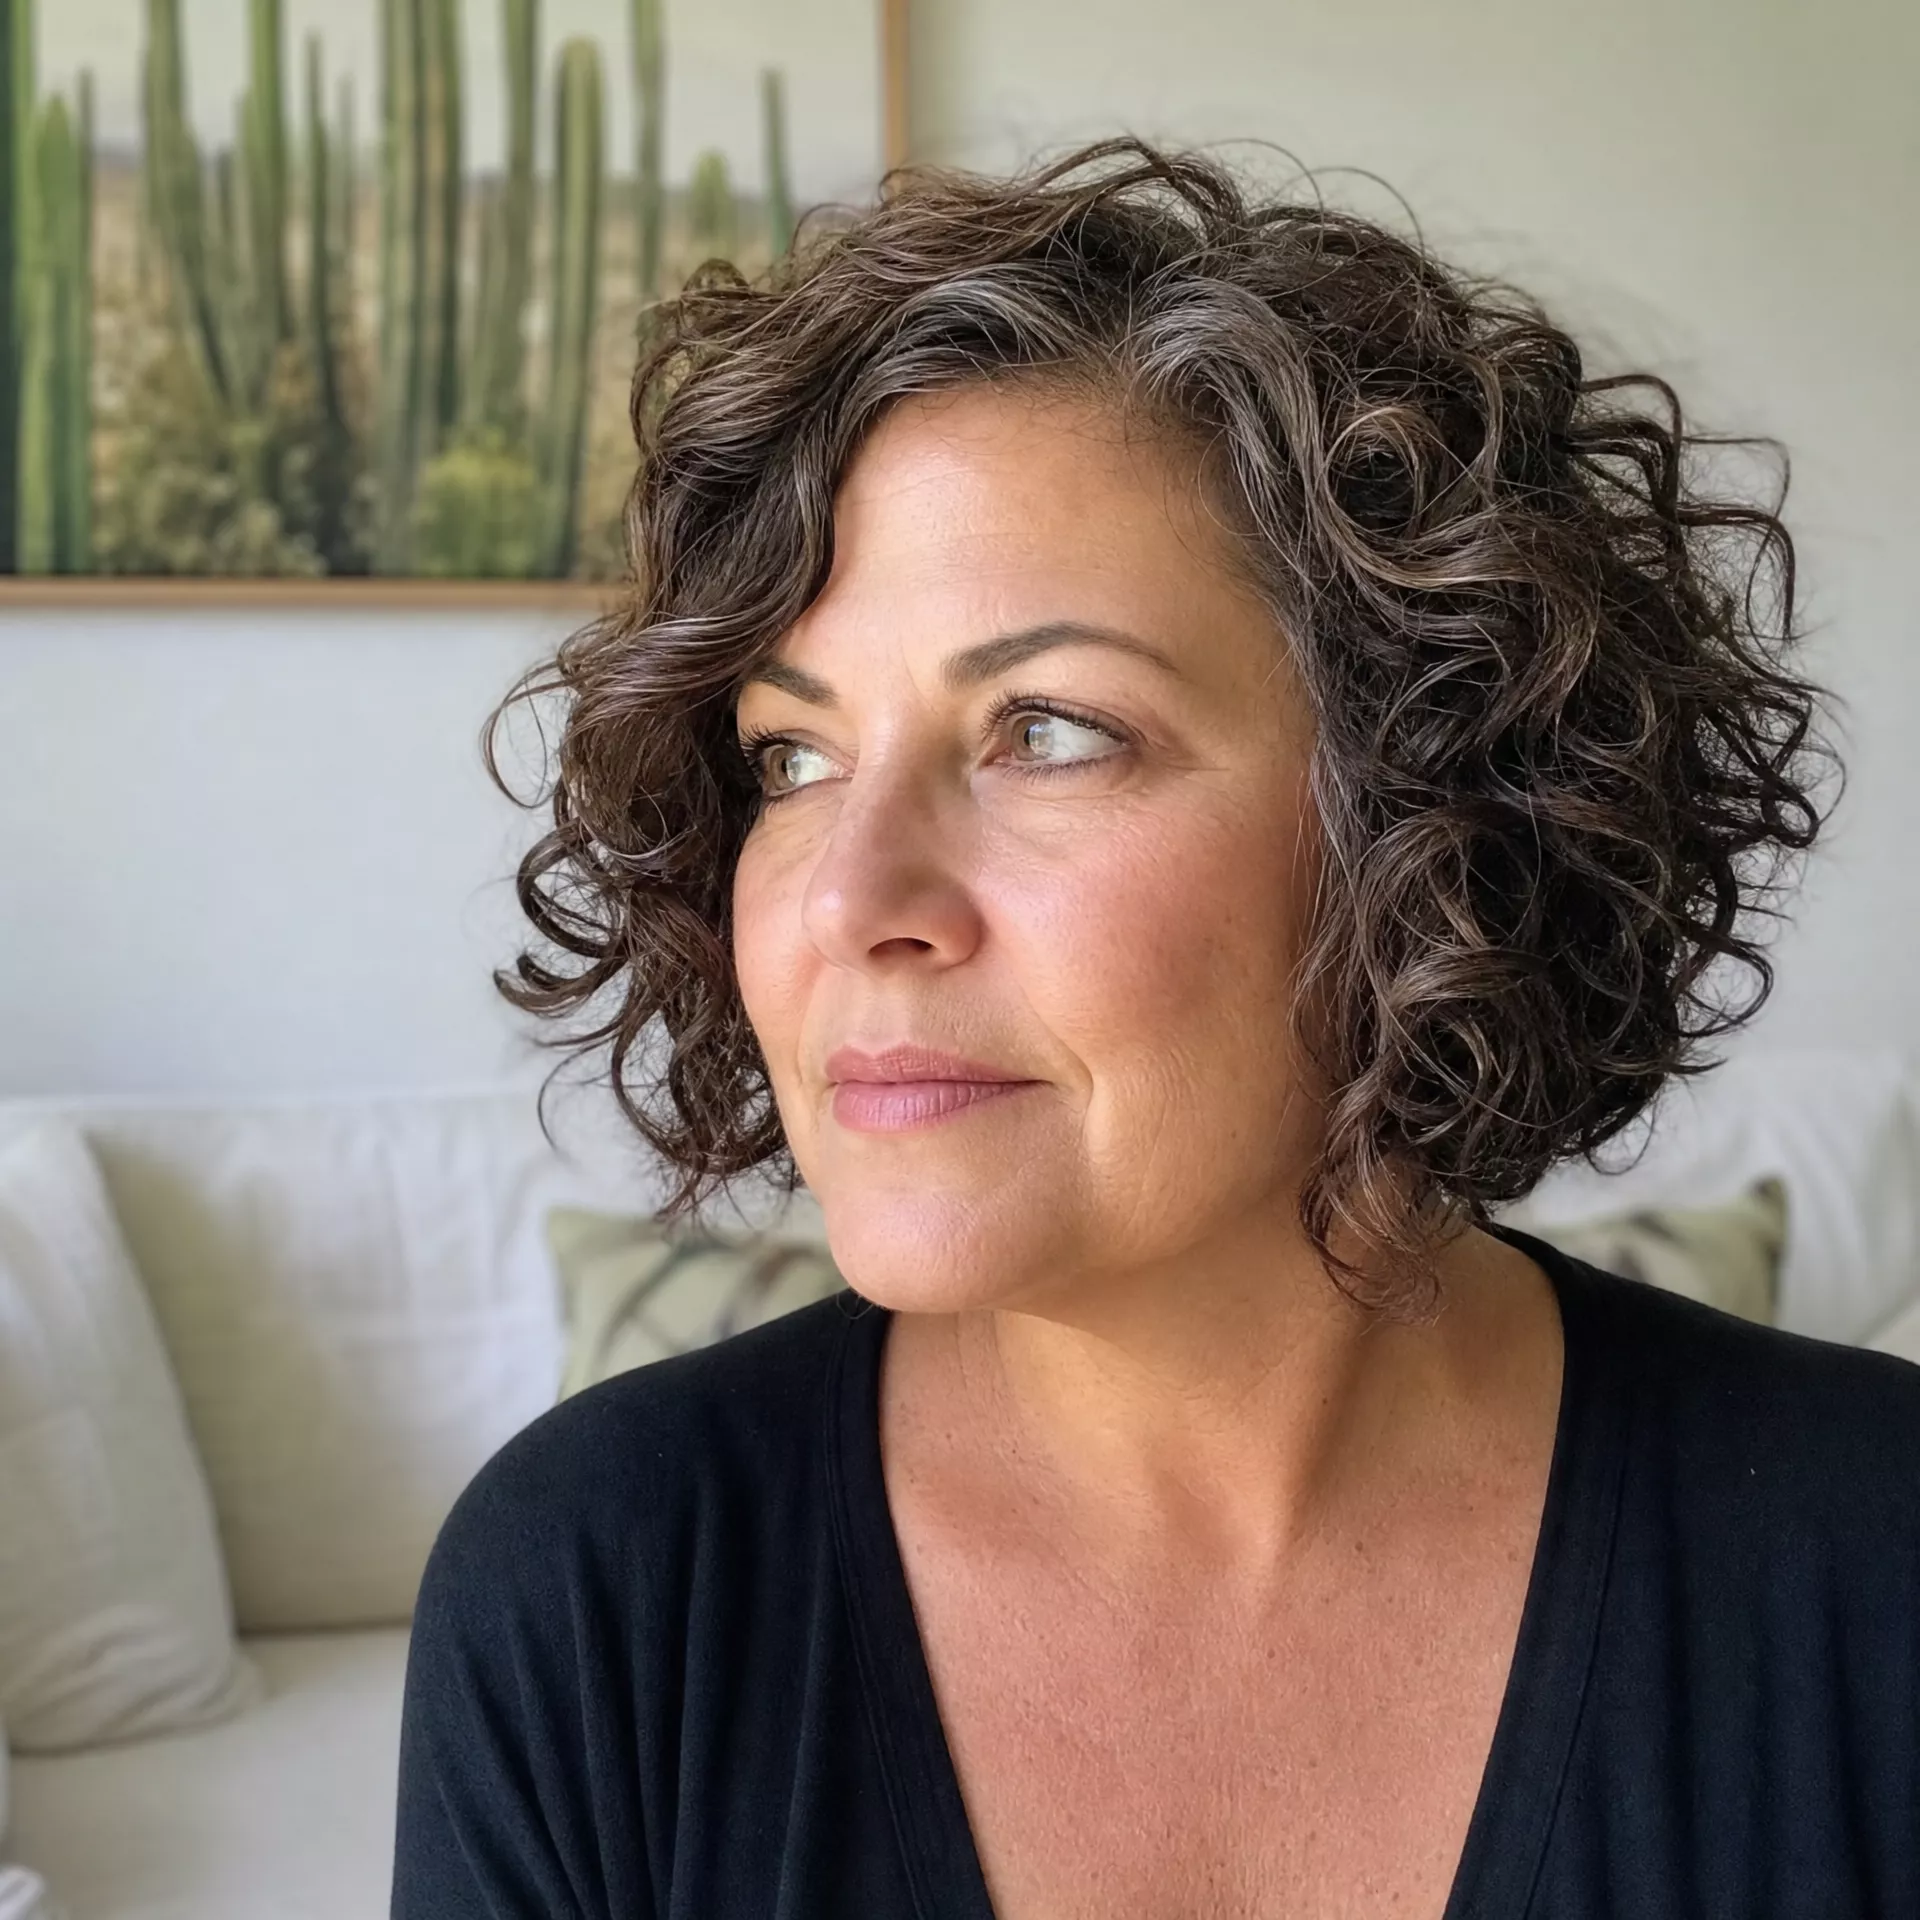
Shorter curls change the half-up approach. A curly bob may only allow a small top section to be gathered, and it may not reach far enough for a regular ponytail. Take a narrow section from the front and crown, twist it back, and secure it with a small elastic or two crossed pins. That gives a little lift and clears the forehead while the rest of the bob stays loose. If the section is too short to gather, pin the front pieces back on each side instead. Curls sit shorter than they look when stretched, so check the length before relying on an elastic.
Braided Crown on Curly Hair

The crown effect comes from braiding sections along the sides of the head and securing them toward the back, like a headband made of hair. One common version uses two braids that start near the temples and meet behind the crown. Other versions use a single braid wrapped across the top or a pair of thinner braids pinned in place. Curly texture gives the braids grip and makes them look full. Shorter layers near the hairline may pop out, so a few extra pins help. Some people find dry hair easier to braid, while others braid slightly damp hair for a neater finish.
Space Buns on Curly Hair

Part the hair down the center, gather each half high on either side of the crown, and twist each section into a bun, securing it with an elastic and pins as needed. Bun size depends on how much hair you have. Long, dense curls make substantial buns, while shorter hair makes smaller ones that may look closer to puffs. Higher placement looks more playful, and lower placement sits more calmly. Curls give the buns a textured surface instead of a smooth one. If a straight center part is hard to keep, a zigzag or slightly off-center part works just as well.
Curly Hair with Claw Clip

Gather the curls back loosely and twist them once or twice. Then fold the twist upward and clip it at the crown or the back of the head, leaving the ends loose. The clip has to suit your hair. Long or dense curls need a large clip with strong teeth and a sturdy spring, since a small one may slip or pop open. Shorter curls may only allow the top half to be clipped, or a smaller clip placed lower at the back. The arrangement doesn’t need to be neat, because curls spilling over the top of the clip are part of the look.
Curly Messy Bun with Tendrils

Start with a loose bun at the crown or slightly lower, then choose two or three curls near the face or nape to pull out. Picking them deliberately keeps the bun intact. Tugging out lots of random sections can make the whole style start to unravel. Look for curls that are already well defined, and if they’ve lost their shape, wrap them around a finger with a little water. Tendrils fall according to your hairline and curl pattern, so they may sit differently on each side. Shorter layers often provide natural tendrils without any pulling.
Diffused Volume Style

A diffuser attachment spreads the dryer’s airflow so curls can dry without being blown apart, which is what makes this different from air-drying. After applying a styling product, cup sections of curls into the diffuser bowl and lift them toward the scalp. Hold for a moment, then lower and repeat around the head. Lifting at the roots can add height, and drying the roots first helps the shape set. Results depend on technique and hair: some curls gain noticeable volume, others more definition, and some frizz if they’re moved too much. Use a heat and speed setting that’s comfortable for your hair and scalp, following the dryer’s instructions.
Curly Hair Protective Updo

A gentler updo gathers curls upward with moderate tension, uses soft elastics or pins that don’t snag, and keeps the ends tucked away. That can reduce rubbing against collars, bag straps, or seat backs. “Protective style” is a broad term, though, and usually refers to styles like braids or twists worn for longer stretches. A simple updo can involve less handling without guaranteeing protection from breakage. To keep it comfortable, avoid pulling the hairline tight, and change the placement now and then so the same area isn’t stressed every day. When the day ends, take it down gently.
Twist and Pin Style

Where the front twist used one section, this style uses several small ones, often three to five, twisted back from the hairline and pinned at the crown or toward the sides. The result is a partial updo with a textured, more detailed top while the rest of the curls hang loose. It differs from the braided crown because the sections are twisted, not braided, which is quicker to do and easier to undo. Choose pins strong enough for your curls. Dense hair may need sturdier pins, while fine strands may hold with lighter ones. Pinning across each twist grips better than pinning along it.
Curly Hair with Bobby Pin Design

A few pins arranged in a pattern near the temple or above one ear can act as the accessory. Simple designs include an X, two or three parallel lines, or a small triangle. Pinning a small section of hair flat underneath gives the pins something to hold. How visible they are depends on your curl pattern. On looser curls, the pins sit on top and show clearly, while tighter coils may partly hide them. Colored or metallic pins stand out more than ones matching your hair. Check the hold before heading out, since springy curls can gradually push pins loose.
Low Puff Bun on Natural Curls

This gathers the curls at the nape into a rounded puff, so it sits low instead of at the crown like the high curly puff. Smooth the hair back gently, secure it with a wide band, and shape the curls into a compact round. The low placement keeps the shape close to the head and makes it easier to wear with hats or against a seat back. On dense, tightly coiled hair, the puff tends to hold a full, rounded shape on its own. On looser curls, it may look more like a soft bun, which you can pin for extra structure. Keep the band loose enough that the hairline doesn’t feel strained.
Curly Pigtails

Part the hair down the middle and secure each half on either side, either high near the crown or low behind the ears. Higher pigtails look more playful, and lower ones sit more relaxed. Length and shrinkage decide the shape. Long, looser curls hang down like ponytails, while shorter or tightly coiled hair tends to form two rounded puffs. The two sides may not match exactly, since curl pattern often varies across the head. Adjusting how much hair goes into each section helps balance them.
Curly Side-Swept Style

Unlike the side pony, nothing is gathered into an elastic here. The hair is directed mostly to one side, and the opposite side is pinned back flat behind or above the ear, so the curls fall freely over one shoulder. Flip your part toward the side that will carry the volume, push the hair across, and secure the other side with two or three pins crossed into an X. Because the curls aren’t gathered, more of their shape stays visible. It works best on curls that reach at least past the chin, and dense hair may need extra pins to stay swept.
Curly Low Bun with Scarf

Make a low bun at the nape first, then tie a scarf around the base. You can knot it into a bow, or wrap the ends around the bun and tuck them in. Some people fold a larger scarf into a band and tie it so the bun sits inside it. Silk or satin may feel more comfortable against the hair and glide more easily than a rougher knit. The scarf adds color and pattern, and it can disguise a bun that didn’t come out quite neat. Whether it protects the curls depends on the fabric, how tightly it’s tied, and how long you wear it.
Curly Hair Half-Up Bun

The top section is gathered as it is for the half-up puff, but here it’s twisted and wrapped into a small bun instead of left to open out. That bun shape is the defining feature: a tidier, more compact top while the rest of the curls stay loose. The amount of hair in the bun changes the proportions. A small section near the crown makes a little knot, and a larger one makes a bigger bun while pulling more hair off the face. Secure it with an elastic and a pin or two, and leave the loose curls as they are.
Finger-Coil Defined Curls

Finger coiling means wrapping small sections of wet hair around a finger, one at a time, to encourage each curl into a clear spiral. Apply a styling product to a section, wind it around your finger from root to end, slide the finger out, and move to the next. It can produce very clear definition, particularly on tighter textures, but it takes time. On dense or long hair, coiling the whole head can take an hour or more, so it isn’t a rushed-morning option. Many people coil only the front or top, where definition shows most. Leave the coils to dry fully before touching them.
Curly Hair Pony with Wrapped Base

Start with a ponytail at any height. Take a small section from underneath, wrap it around the elastic to hide it, and secure the end with a pin pushed into the base. It gives the ponytail a more finished look than an exposed band. It takes a little more effort than a basic pony, and it needs enough length for the wrapped section to go all the way around. Curly hair grips well, so the wrap usually holds, though springy ends may need a second pin. Keep the wrapped section small so it doesn’t pull hair out of the ponytail.
Natural Air-Dry and Go

This is the most minimal approach: the hair dries on its own with little or no product. Some people apply a leave-in or light cream, gently squeeze out excess water with a soft towel or T-shirt, arrange the curls with their fingers, and then leave them alone. Compared with a wash-and-go, it usually involves less product and less technique, so curls may dry with less definition. Drying time and results vary with density, length, curl pattern, and humidity, and thick, long hair may take hours. You may still want to pin back the front or refresh a few sections later in the day.
A Simple Way to Rotate These Styles Through the Week
Easy curly styles fall into three broad types: loose styles that show your curls, half-up arrangements that keep the front under control, and updos that gather everything away. Moving between them means you don’t have to restyle from scratch every day.
For example, someone whose curls hold for a few days might wear them loose and defined right after washing, then switch to a half-up style or headband once the front starts to flatten. When the lengths lose their shape, everything can go into a bun, puff, or clip. Someone whose curls flatten overnight might go straight to a half-up look on the second morning. Treat this as a flexible pattern, not a schedule, because how long curls last depends on your hair, products, sleep, and the weather.
What to Consider Before Styling Second-Day Curls
Start by looking at what has actually changed. If the curls are still defined but slightly flattened, a little water or a light leave-in scrunched in by hand may be enough. If only certain sections have lost their shape, such as the front or the side you slept on, rewet and reshape just those, or twist them around a finger.
If the hair keeps falling into your face, securing it may be easier than refreshing it, so a headband, front twist, or half-up style can help. And if the overall shape has gone, keep in mind that some styles work best when started on wet hair. A wash-and-go or twist-out may simply need to wait until your next wash day.
How to Keep Easy Styles Comfortable
Tension builds in the same places when hair is pulled back the same way every day. Scrunchies, coated elastics, or spiral bands are gentler than thin rubber bands, which can snag. Choose clips sized to your hair so they hold without clamping down, and pins suited to its thickness.
Vary where you place ponytails and buns from time to time, and loosen anything that causes a headache or soreness at the hairline. Removing elastics and pins slowly, instead of pulling them out, also reduces snagging.
Final Thoughts
You don’t need all 27 of these. Most people settle on a handful of styles that suit their curl pattern, their length, and the time they have, then rotate them through the week. Pick one style you haven’t tried that fits a day you already have planned, whether that’s a quick half-up puff or a twist-out set the night before, and see how your curls respond.