24 Mid-Length Hairstyles for Women Over 60 and How to Choose the Right Cut
Mid-length hair covers a wide span, from around the chin to just past the collarbone, so the label alone tells you little. Length does not make a cut easier, fuller, or more suited to any age. What shapes the result is the perimeter, where the layers begin, how much weight stays in the ends, and how all of that meets your natural texture and styling habits. Fine strands and low density are different things, and thick hair can mean many hairs, wide strands, or both. Gray or color-treated hair may behave differently depending on its condition and history. Two cuts at the same length can look and feel nothing alike. Use these 24 mid-length hairstyles for women over 60 to decide how you want your hair to behave day to day, not only which photo you like.
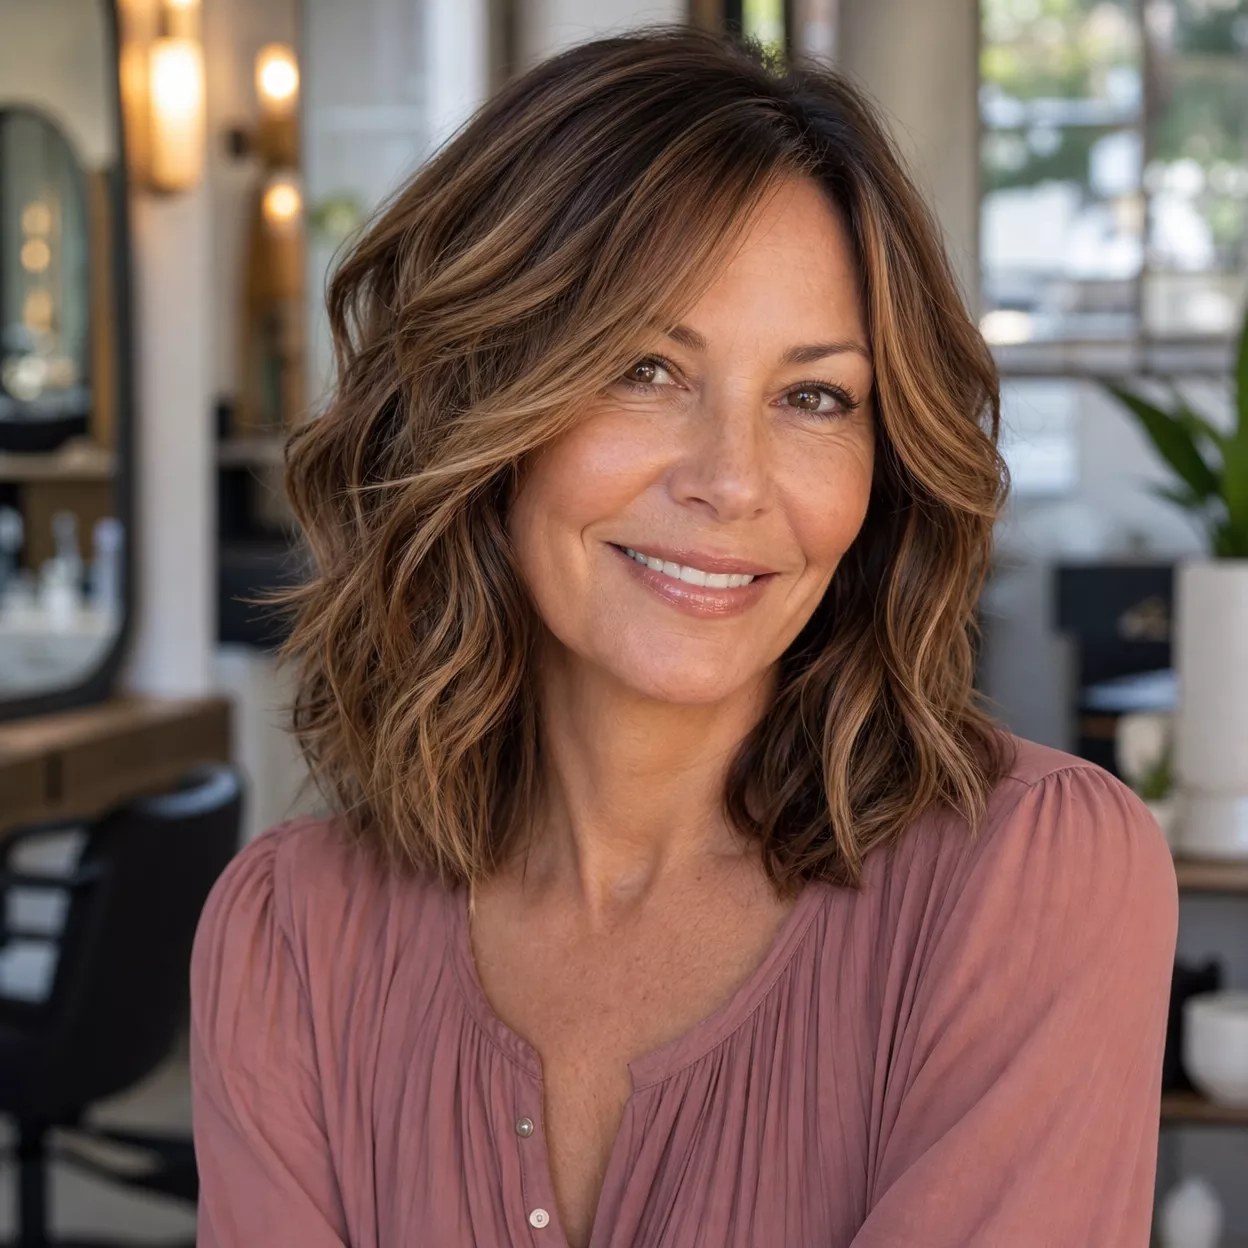
Layered Mid-Length Lob

“Layered” describes several different cuts. Face-framing layers start near the cheekbones or chin and change how the front moves. Interior layers remove weight through the body of the hair. A strong perimeter keeps the bottom edge solid whatever happens above it. Layers create movement, but they also take away weight, so fine or low-density hair can look thinner at the ends if they are cut too generously. Dense hair may need them to ease bulk. Ask where the first layer will fall and whether the lowest edge should stay close to blunt.
Mid-Length Shag with Curtain Bangs

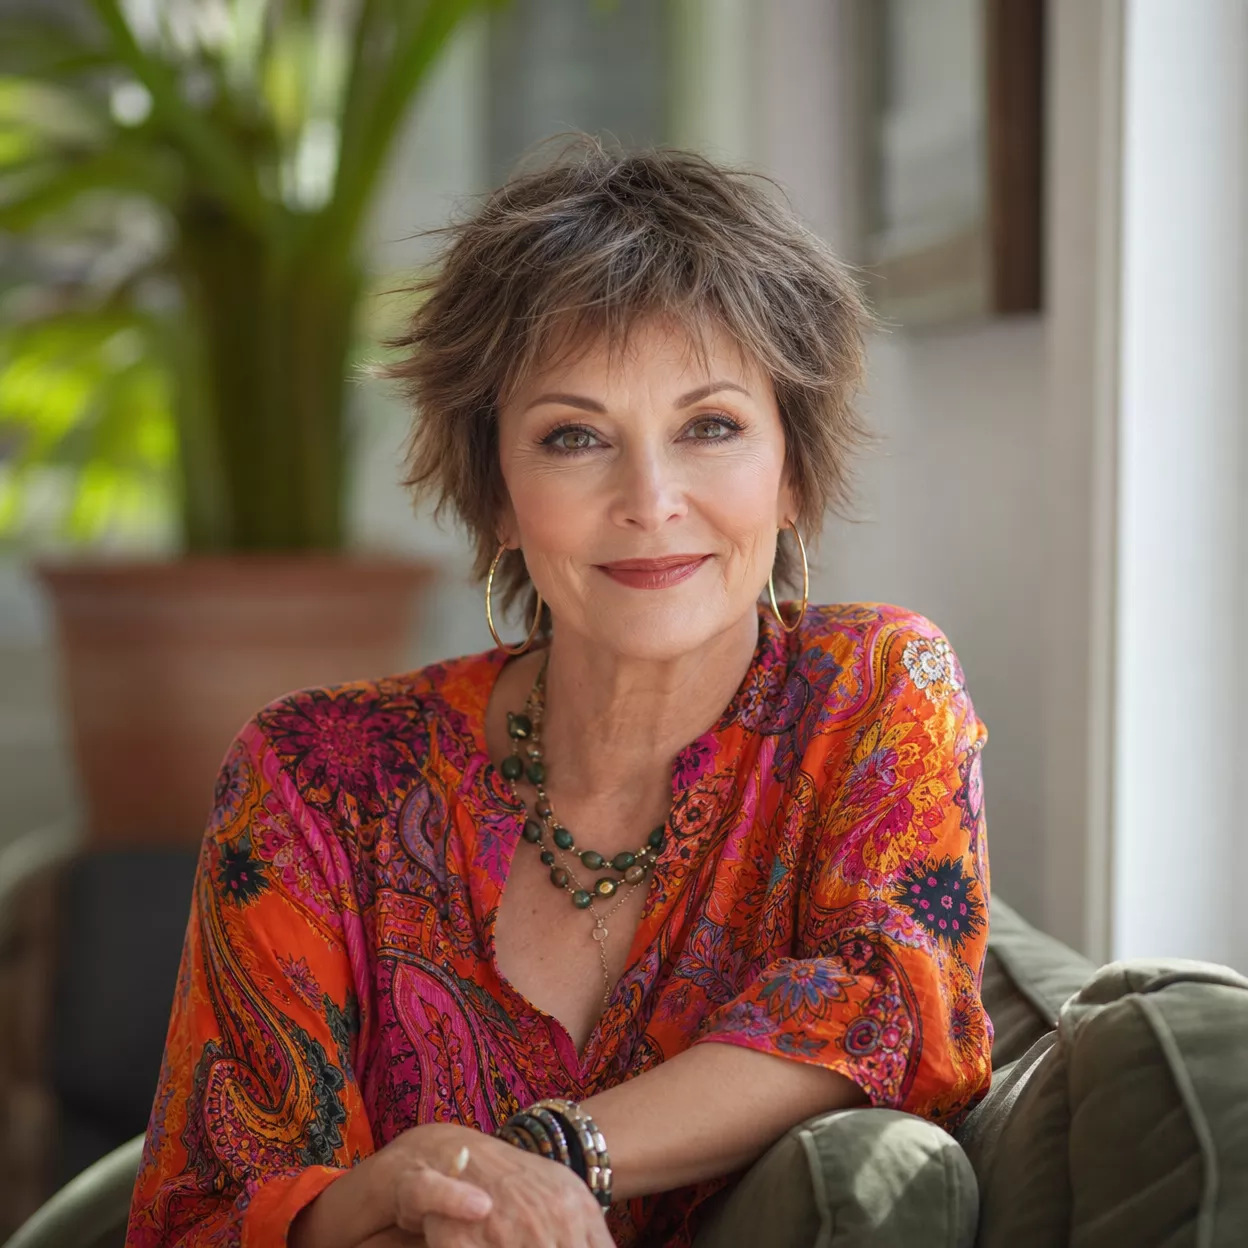
This cut has three working parts: the fringe, the crown layers, and the length around the sides. Curtain bangs part in the middle and sweep outward, which depends on your hairline and growth pattern. A cowlick, a widow’s peak, or a strong side part can push them somewhere else. The crown layers give the shag its shape, and your wave pattern decides whether they flip, sit flat, or stack. Keeping the sides longer prevents the shape from turning too short. Some people blow-dry the fringe daily, while others leave it to air-dry.
Soft Wavy Mid-Length Cut

Naturally wavy hair and straight hair styled into waves are different starting points. A cut built for natural waves works with the bends already there, placing layers where the hair tends to collapse or stack and leaving enough length for the waves to settle, since wavy hair often draws up as it dries. A reference photo with heat-set waves needs a curling tool or similar routine to reproduce. The haircut can support the wave, but it cannot create a wave pattern that your hair does not have.
Blunt Mid-Length Bob

The solid bottom edge is the whole point here. A blunt perimeter makes the ends look dense and defined, but it does not increase the number of hairs you have. On very thick, coarse, or naturally curly hair, a blunt shape can widen into a triangle unless some internal weight is removed. On finer hair it can hold its line well. Check how the ends behave when the hair is air-dried, because they may turn under, flip out at the shoulders, or hang straight, and that will decide how much styling the cut needs.
Mid-Length Shag for Fine Hair

Fine hair has narrow strands, while low density means fewer strands, and the two lead to different decisions. Fine but dense hair can usually carry more layering. Low-density hair has less to spare, so the aim is texture without losing the weight that keeps the ends from looking sparse. Shag layers shift weight toward the crown, which can lift the shape for some people, but they do not automatically make hair look fuller. Asking for shorter layers confined to the top, with the lower lengths left intact, is one way to keep that balance.
Feathered Mid-Length Cut

Feathering tapers the ends so they sweep softly, usually away from the face. That differs from choppy layers, which show visible steps, and from a blunt perimeter, which stays solid. The finish depends on styling direction: a round brush, rollers, or simply the way your hair moves can turn the ends outward or under. Tapering needs some length to work with, and on very fine or low-density hair, heavily feathered ends can look wispy and see-through. A lighter taper keeps more weight at the bottom.
Mid-Length Cut with Face Framing

Face framing is a design choice, and where it starts changes the whole front. Pieces beginning at the cheekbone create a different transition than pieces that start at the chin or fall below it. If you have a fringe, the framing layers decide how it blends into the sides. Texture matters as well. On straight hair the line is crisp and easy to see, on wavy hair the pieces bend and shorten a little, and on curly hair they spring up more than the cut length suggests. Ask your stylist to show you where the shortest piece will land.
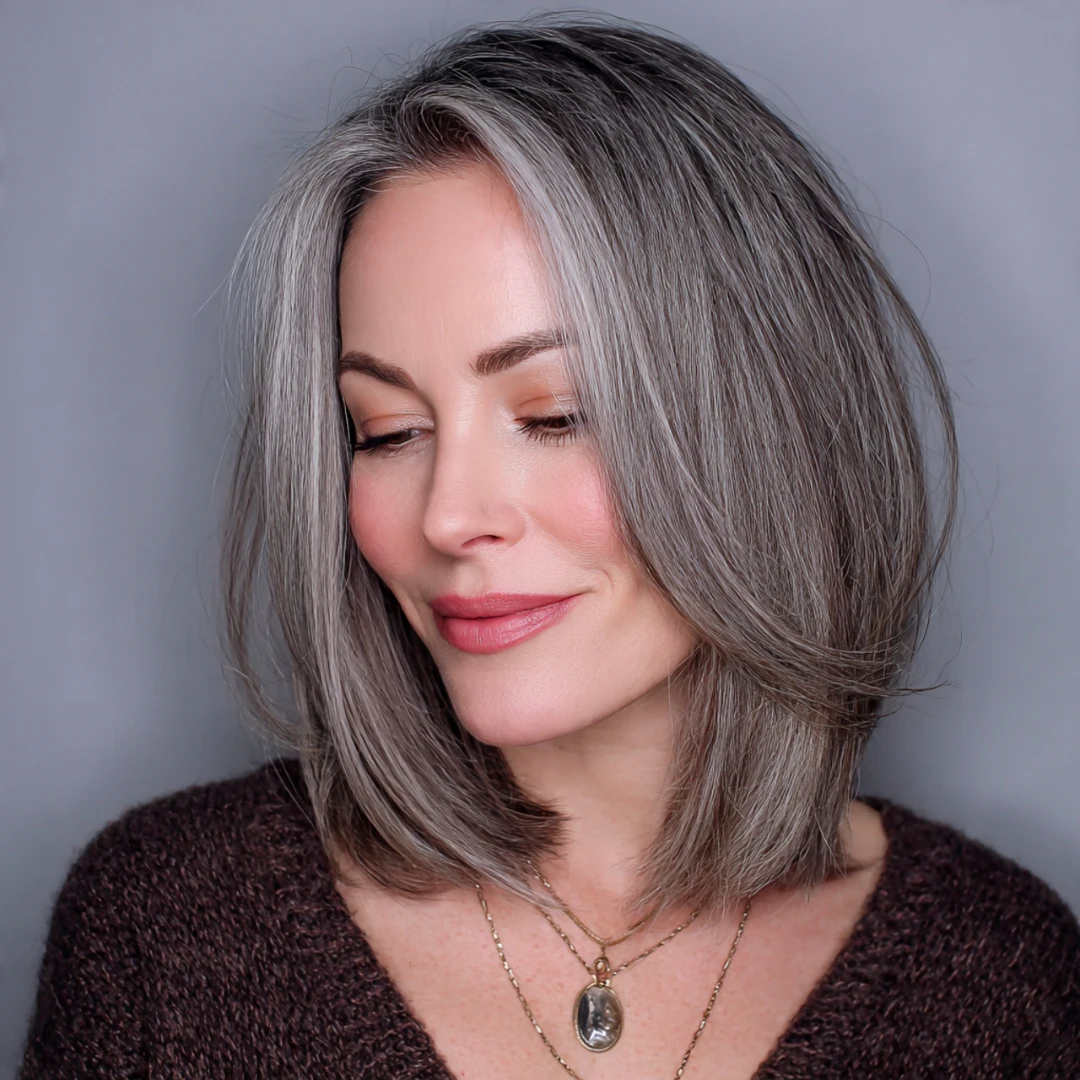
Silver Gray Mid-Length Layers

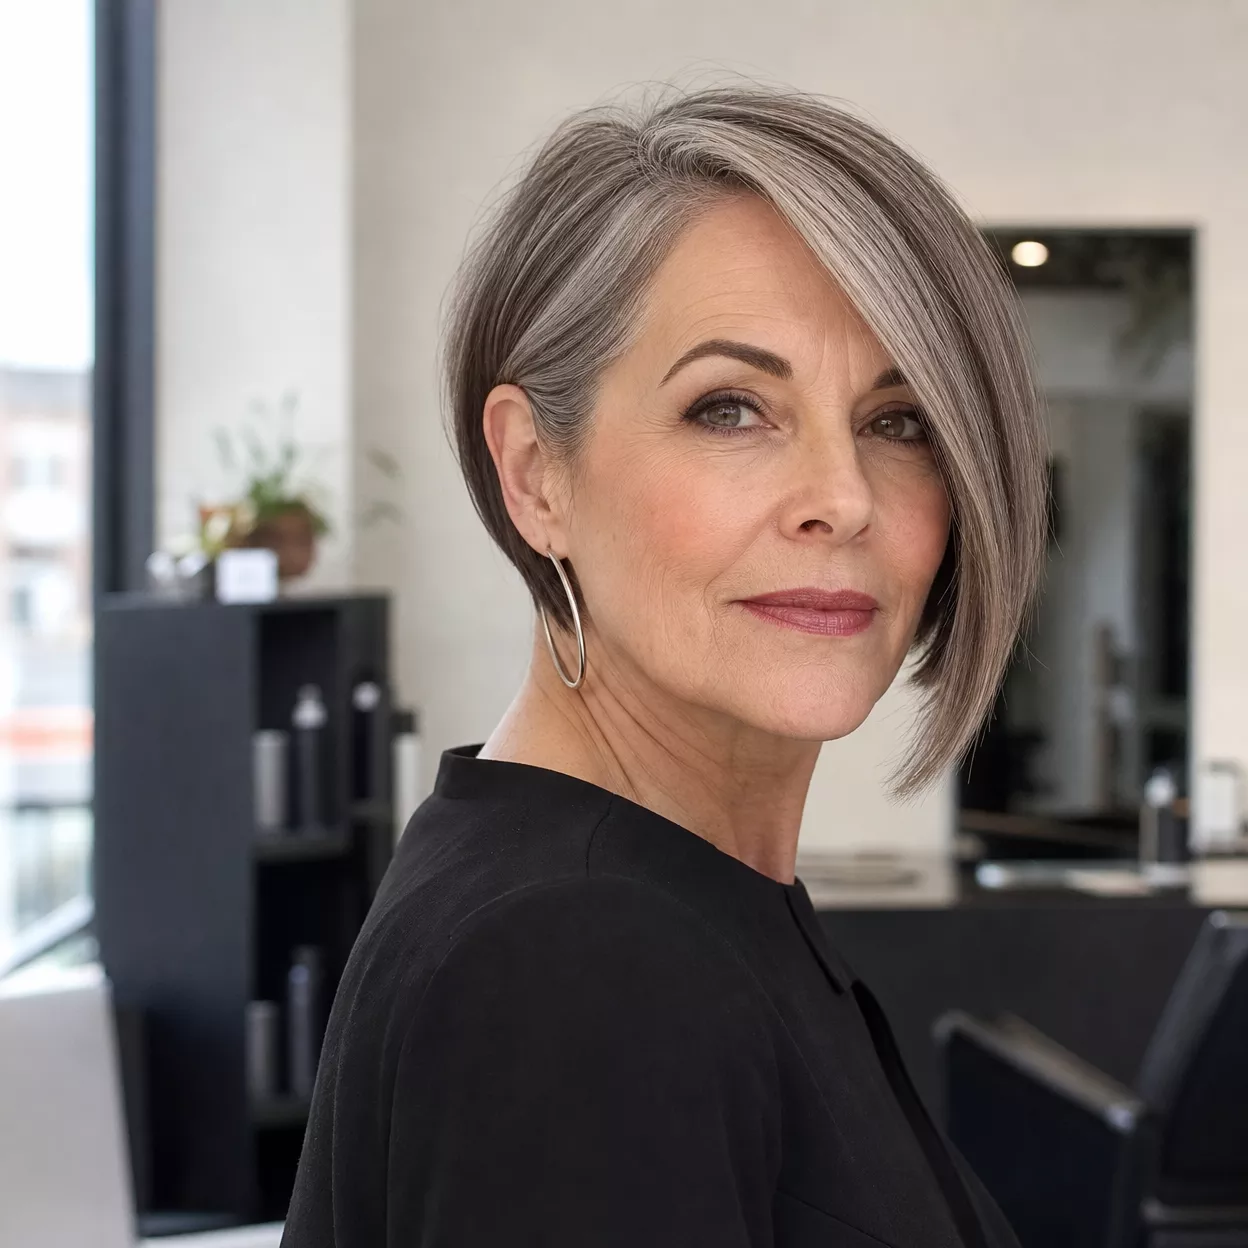
Gray hair has no single texture. It can be wiry, silky, fine, or coarse, just like pigmented hair, so the cut should respond to your own strands. What natural silver does change is how shape reads. With less tonal variation than multi-toned color, the silhouette and perimeter often do more of the visual work, and layers will not always add dimension. Their job is movement and outline. Where they begin and how solid the bottom edge stays will shape the result more than the color does.
Mid-Length Wolf Cut

A wolf cut combines shorter crown layers, face-framing pieces, and length through the back. The step between the short top and longer lower sections is what produces the shaggy shape. Strongly textured versions remove a lot of weight, which matters for low-density hair, where the ends can thin out quickly. Crown volume depends on your density and growth pattern as much as on the cut, so it is not guaranteed. A softer version, with fewer and longer layers, can keep the character while preserving more of the perimeter.
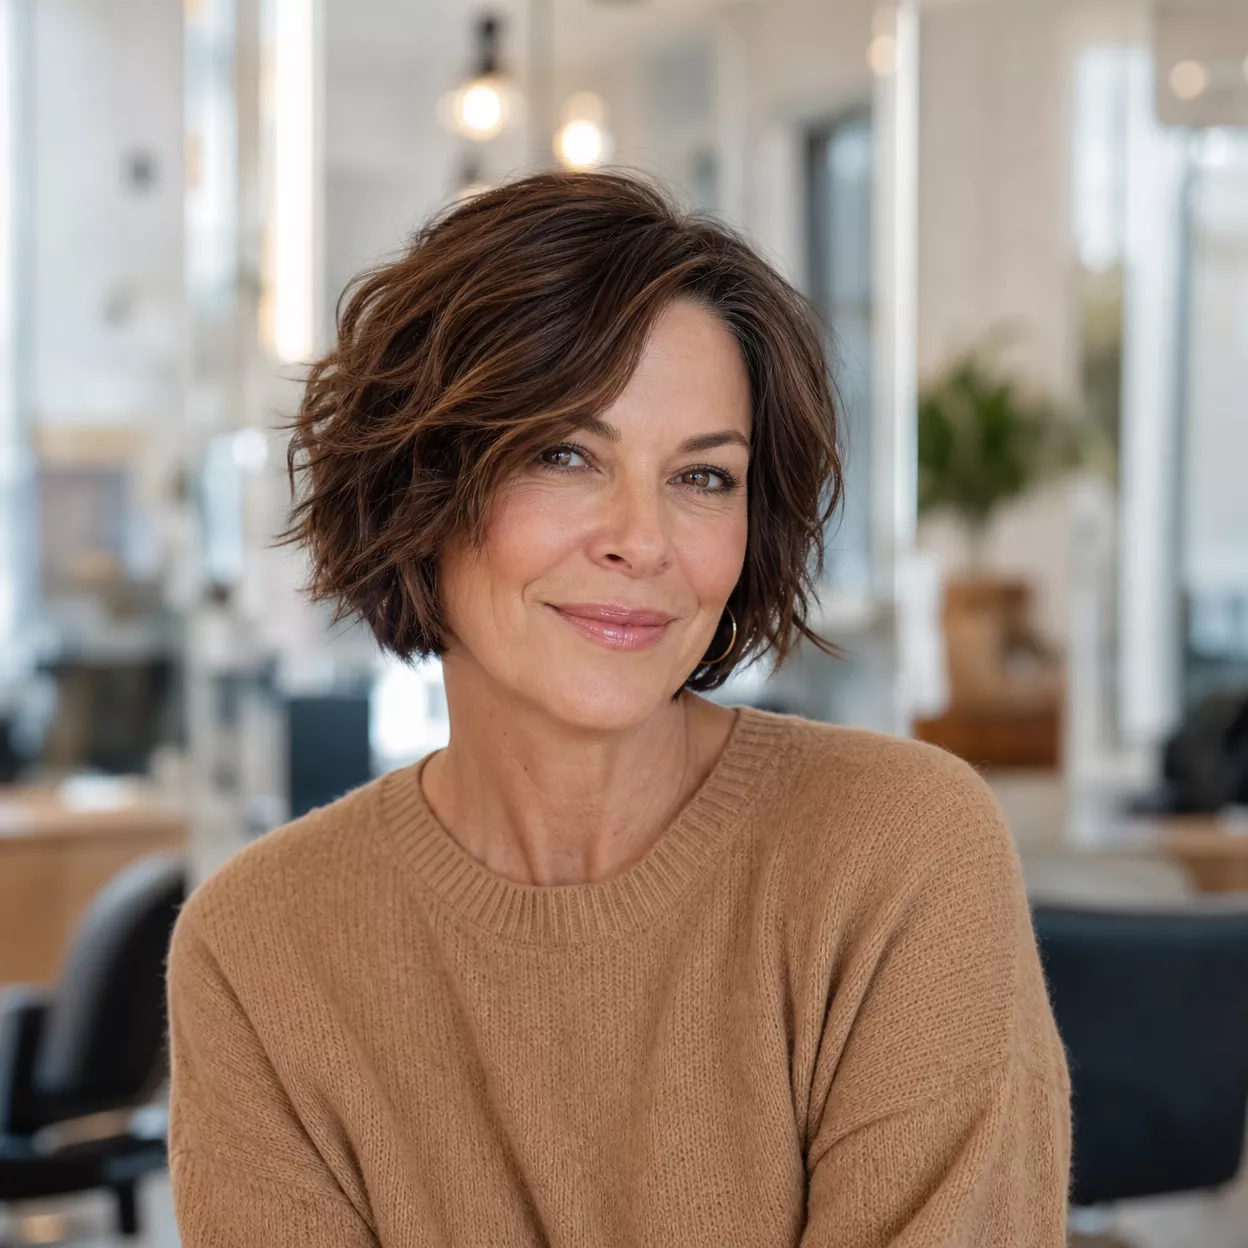
Textured Mid-Length Bob

“Texture” can mean three things: internal layering, a separated finish, or a deliberately broken-up perimeter. Be clear about which one you want. Stylists reach it with different techniques, such as point cutting, slide cutting, or a razor, and the right choice depends on strand condition, texture, density, and the finish you want. A razor can suit some hair and leave others frayed. Describing the effect, for example a soft, separated edge or a lived-in feel, gives your stylist room to choose the method.
Mid-Length Cut with Highlights

The cut and the color are separate decisions. Highlights add contrast between lighter pieces and your base color, and they can make layers easier to see. They do not make hair healthier or fuller, and they work differently depending on your starting color and any color history. Placement matters too: fine, scattered pieces blend softly, while broader sections stand out more. Upkeep depends on how visible the regrowth line is. If you have natural gray, highlights can be planned to blend with it, or to leave it alone.
Asymmetrical Mid-Length Bob

Asymmetry can be a slight difference in length between the two sides or a pronounced angle, and the two behave differently. A subtle difference tolerates a natural part that shifts from day to day. A sharper angle depends on the part staying where the cut was designed to sit. The perimeter also changes as it grows, since the shorter side catches up and the contrast softens. Ask how the shape will look in a few weeks, not just on the day of the cut.
Romantic Mid-Length Waves

This is mostly about the finish, not the cut. A wave pattern is a styled result that may come from a curling tool, rollers, braiding, or natural texture. How long it lasts varies with hair type and conditions: smooth, slippery hair often releases waves quickly, while hair with natural bend holds them longer. Humidity can also soften or tighten them. A haircut with some internal movement helps, but it will not replace the routine. Decide whether you want to recreate the waves daily or have a cut that suits your natural texture.
Mid-Length Lob with Wispy Fringe

A wispy fringe sits lightly on the forehead, so the balance with the main length matters. Hairline growth, your natural part, and strand thickness affect how it falls. Fine strands can separate and leave gaps, and a cowlick may push the fringe in an unexpected direction. How much forehead it covers is a personal preference, and wispy sections can look sparse if taken from low-density hair. Grow-out is worth planning for, because the fringe will pass through lengths that need pinning or shaping before it blends into the lob.
Mid-Length Cut for Thick Hair Over 60

“Thick” can mean high density, coarse strands, or both, and the right cut depends on which. Internal bulk removal reduces weight through the interior while the outside perimeter stays intact, which keeps the shape clean. Too much thinning can leave uneven ends that are harder to style, while too little can leave the cut feeling bulky. Dense but fine hair may need different handling from dense, coarse hair, so the same layers will not suit every thick head. Talk through how much weight to take out and from where.
Collarbone Cut with Balayage

Collarbone length is a haircut decision, while balayage describes how color is painted onto the hair. Keep them separate. At this length the ends often rest on the shoulders and may flip, which affects how the color shows. Balayage usually leaves a softer line at the roots than all-over color, though that depends on the contrast, and a sun-kissed result is not guaranteed on every base color. Maintenance depends on how different the painted sections are from your natural shade, and on how much of your hair is gray.
Mid-Length Curly Cut

Curl pattern, shrinkage, density, and weight distribution all shape the finished cut. Curls spring up as they dry, so a length that looks right when stretched or wet can sit noticeably shorter dry. For that reason, the dry shape may differ from a wet reference photo. Some stylists cut curls dry, others cut wet and check the shape dry, and others use a combination. The best method depends on your curls and your stylist’s approach. Ask how the shape will look once your curls have fully dried.
Mid-Length Cut with Side-Swept Bangs

Direction is everything with this fringe. If the bangs are cut to follow your natural part and growth, they tend to fall into place. If they are cut against it, they may need daily styling to stay in position. The fringe should also connect to the rest of the cut, with the longer side continuing into the face-framing layers so it looks like one design. Check where your hair naturally wants to part before choosing which side the sweep goes. Fringe length also sets how much shaping it needs.
Effortless Air-Dried Mid-Length

“Effortless” depends on several things: the cut, your natural texture, the products you use, and the climate. A cut can be designed to dry into shape, but it will not do so identically for every person or every day. If your goal is minimal heat styling, mention it to your stylist, who can build the cut around your natural movement and part. Hair with some wave or bend often air-dries more predictably than very straight, fine hair, which may need a little help from product or a brief blow-dry.
Mid-Length Gray Ombre

Ombre is a color transition, not a haircut. It should also be separated from naturally growing gray: natural gray does not grow from dark roots to silver ends, so a gradient like this is created deliberately with color. How well that goes depends on your existing color history, any previous processing, and the level of lightening needed to reach silver. Maintenance varies as well, since the transition has to be kept looking intentional as the roots grow in. Discuss the starting point honestly with your colorist.
Textured Mid-Length Lob on Fine Hair

This differs from the shag for fine hair because the emphasis is perimeter weight and restrained texture, not shaggy layering. The goal is separation through the lengths while the bottom edge stays solid. Fine but dense hair can carry more texture than low-density hair, which has fewer strands to spare. Texturizing changes how hair is arranged, not how much of it there is, so layering will not create density. Light, subtle texture tends to work better than heavy removal on thinner hair.
Mid-Length Shag with Natural Gray

A shag’s layers interact with how your gray grows in. Shorter crown layers show the root area more, so the proportion of gray there matters, and gray at the front may behave differently from gray at the back. This does not mean gray hair needs extra layers, and a shag does not always add dimension. What matters is shape, grow-out, and how much daily styling the cut needs. Gray strands can be wiry or silky, so the amount of product and heat needed will vary from one person to the next.
Mid-Length Cut with Soft Flicked Ends

Flicked ends are mostly a styling finish. The cut’s perimeter and layers influence how easily they form, since a slightly tapered edge turns more readily than a blunt one. Depending on your hair, the finish may need a blow-dryer and brush, rollers, or another tool. Straight, smooth hair may release the flick sooner than hair with some bend. It will not necessarily hold all day, so decide whether you are willing to restyle the ends or would prefer a cut that sits well without them.
Polished Mid-Length Blowout

A blowout is a temporary finish, not a haircut. It can create lift and smoothness, but it does not change the natural density of your hair. How long it takes depends on your hair’s texture, thickness, and skill with a brush. Heat use matters too, and humidity can undo the finish quickly. After washing, the hair returns to its natural shape, so the underlying cut still has to work without the blow-dry. A good blowout starts with a good cut, and it helps to ask how the shape behaves between styling sessions.
Where Should the Layers Actually Begin?
The starting point of a layer changes the silhouette more than most people expect. Crown layers begin near the top of the head and affect the shape of the upper section. Interior layers sit through the body of the hair and mostly control weight. Face-framing layers begin near the cheekbones or chin and decide how the front transitions into the rest. A relatively solid perimeter has few or no layers at the bottom.
Starting layers higher gives more movement at the top but takes weight from the crown area. Starting them lower keeps more weight and a cleaner outline. There is no single right starting point, and the answer depends on your density, texture, and the shape you want.
Fine Hair, Low Density, and Thick Hair Need Different Trade-Offs
Strand thickness and density are different measurements. Fine hair has narrow strands, and low density means fewer strands. Fine but dense hair can often handle layering and texture, because there are enough hairs to keep the ends looking full. Low-density hair has less margin, so too many layers can leave the ends thin, and a more solid perimeter usually helps.
Thick hair brings its own trade-off. Bulk removal can reduce bulkiness, but too much can leave ends uneven. Every cut balances movement, perimeter weight, bulk removal, and the appearance of fullness, and your own hair decides which of those matters most.
What a Hairstyle Photo Cannot Tell You
A reference photo hides most of what produced it. Blow-drying, heat styling, product, and lighting can all change how smooth, full, or textured the hair appears. The model’s natural texture, density, and color may differ from yours, and the photo rarely shows the back or sides.
Save several angles if you can, including the back and a side view, and look for how the ends sit and where the layers start. Then ask how the cut will behave in your ordinary routine, not just on the day it is styled.
When Mid-Length Hair May Not Be the Easiest Choice
Mid-length hair can ask for more than expected. At this length, hair often touches the shoulders, so ends may flip, and some cuts need regular styling to keep their shape. Layers can remove too much weight, leaving thin ends, while a blunt perimeter on dense hair can feel bulky. If the reference photo depends on a finish, such as waves, flicked ends, or a blowout, the cut may look quite different on the days you skip it.
None of this rules out mid-length hair. It only means checking whether the version you like matches the amount of styling you want to do.
What to Discuss With Your Stylist Before the Cut
A few practical questions help turn a reference photo into a realistic plan:
- Where should the perimeter sit on my hair when it is dry?
- How much weight should be removed from the interior?
- Which layers are necessary, and which could leave the ends too thin?
- How will this shape behave with my natural texture and part?
- How much styling will the reference photo require?
- How will the cut grow out?
- Which parts of the reference photo are realistic for my hair?
Final Thoughts
The right mid-length cut depends on its shape, your texture and density, how you like to style your hair, and what you simply prefer. A photo can show a direction, but it cannot predict how your hair will behave. Use these 24 examples as references to discuss with your stylist, and expect a cut adapted to your hair, not an identical copy of the image.